Introduction
Remember the paper boats from your childhood? Back then, toys were scarce, but with a simple piece of paper, you could create hundreds of toys through folding. Paper boats, in particular, came in many variations: with canopies, without canopies, with masts, with sails... The folding methods were endless. It was such a delightful experience to put the folded paper boats on water and watch them float. Today's children might not need this skill anymore, but let's revisit this nostalgic craft with our kids!
Materials Needed
Colored paper, toothpicks, scissors

Fleet of Origami Boats
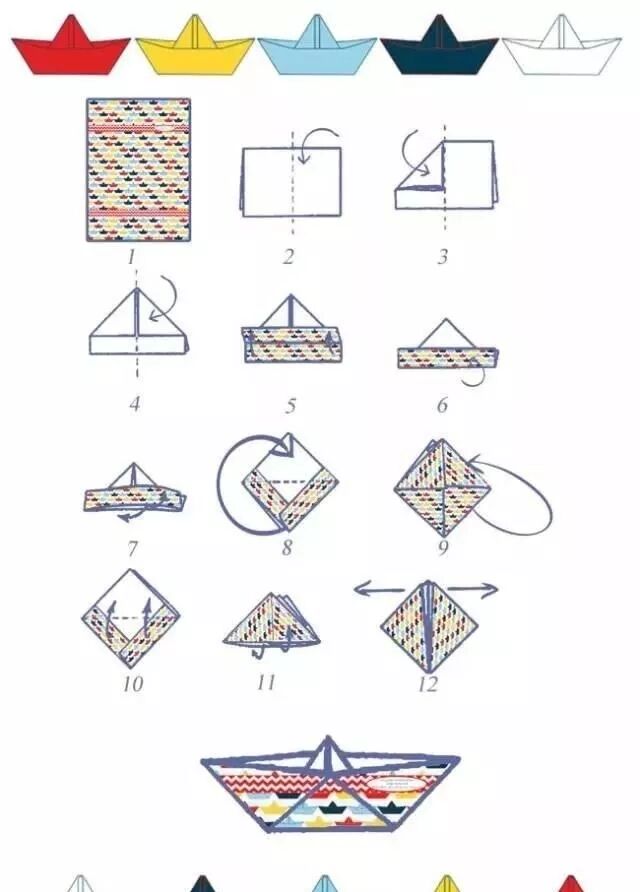
Let's create a fleet of origami boats that are ready to set sail!
Step-by-Step Instructions
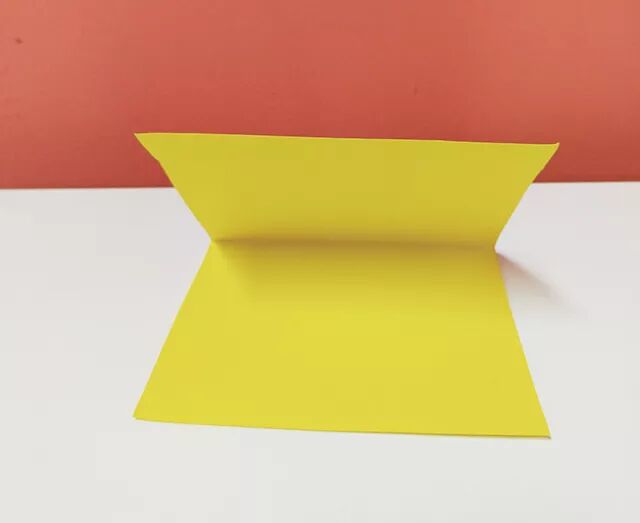
- Step 1: Take a rectangular piece of paper and fold it in half along the long side.
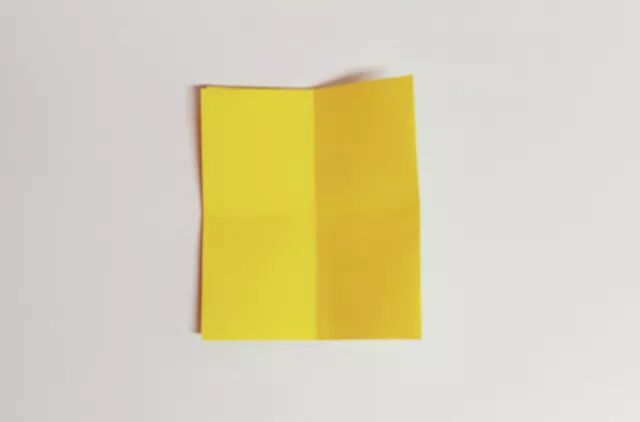
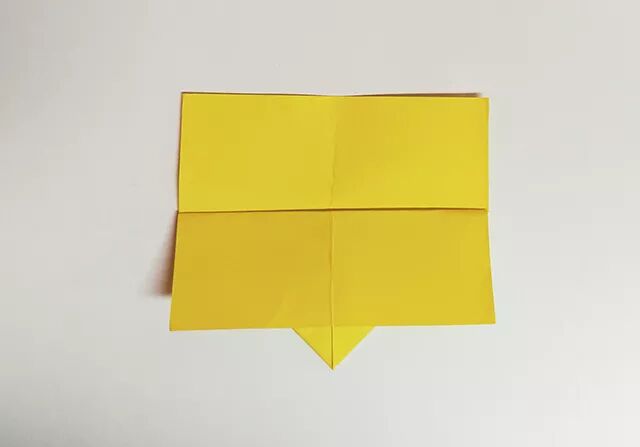
- Step 2: Create a cross crease on the folded paper.
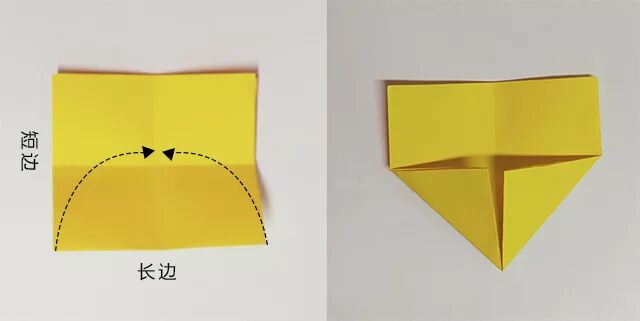
- Step 3: Unfold the short sides and fold the two corners along the center line.
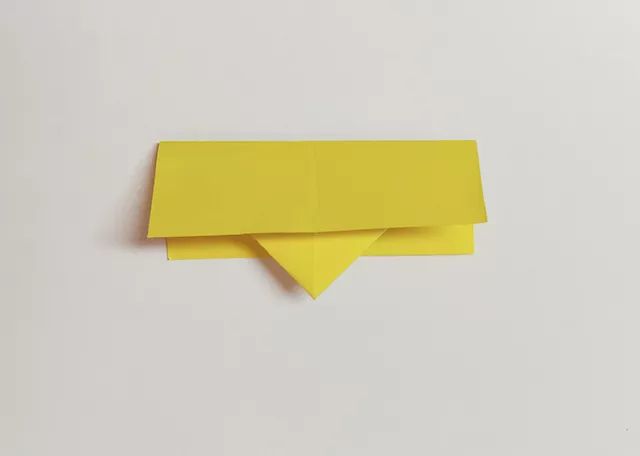
- Step 4: Fold the excess paper along the long side of the large triangle.
- Step 5: Fold the other side the same way.
- Step 6: Pull the two long sides outward.
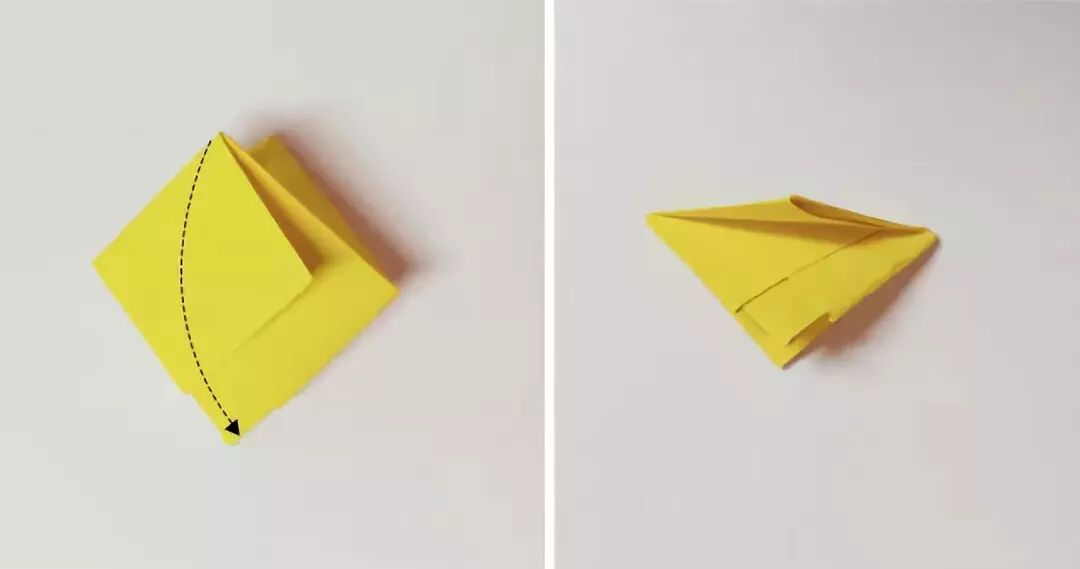
- Step 7: Open into two squares and fold the squares outward along the diagonal.
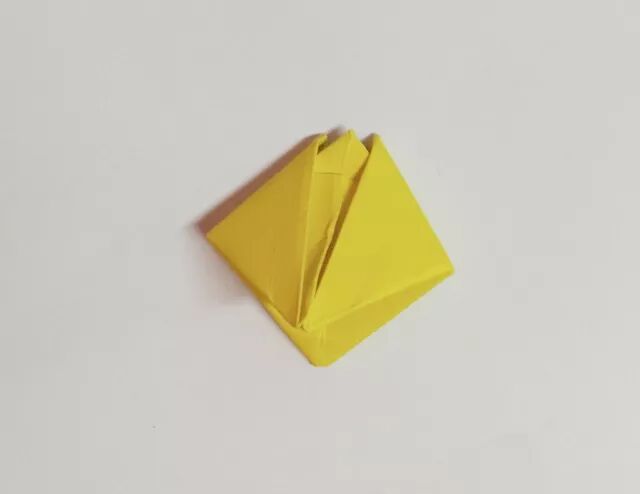
- Step 8: Pull the two long sides of the triangle outward again (as shown in the picture).
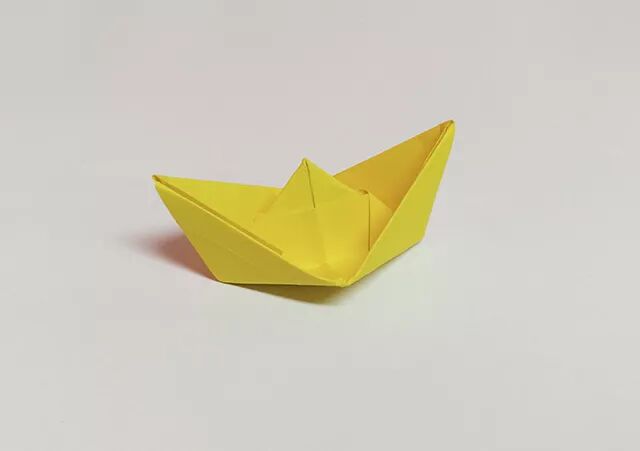
- Step 9: Pull the two corners at the opening outward and flatten. Your little paper boat is ready!
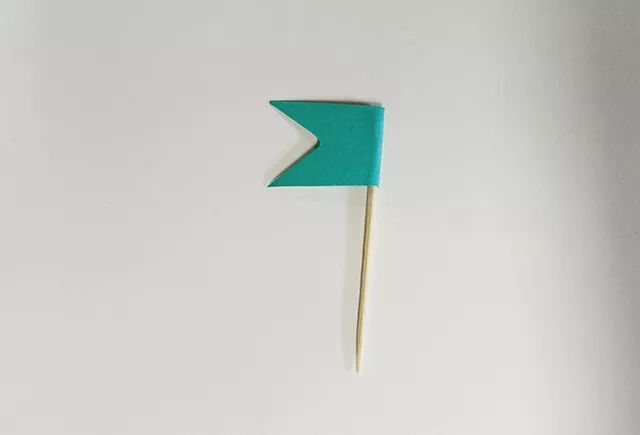
- Step 10: Want to make your boat cooler? Let's make a flag for it!
- Step 11: Cut a small flag from colored paper and glue it to one end of a toothpick. A cool flag is ready!
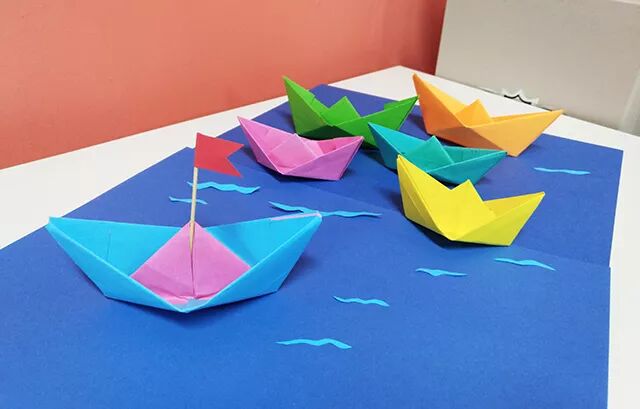
- Step 12: Insert the other end of the flag into the highest point of the boat. Your cool boat is complete!
- Step 13: Fold several boats and display them together. Doesn't it look like a fleet ready to set sail?


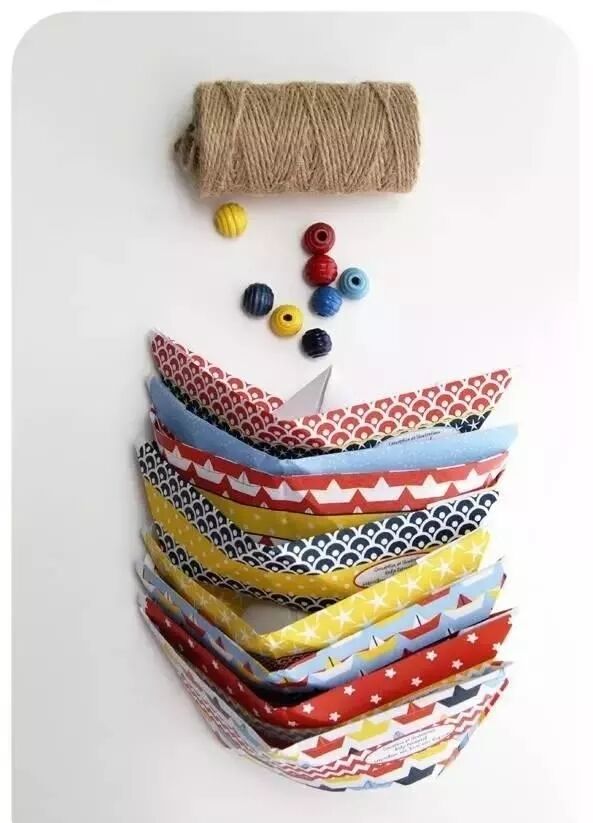
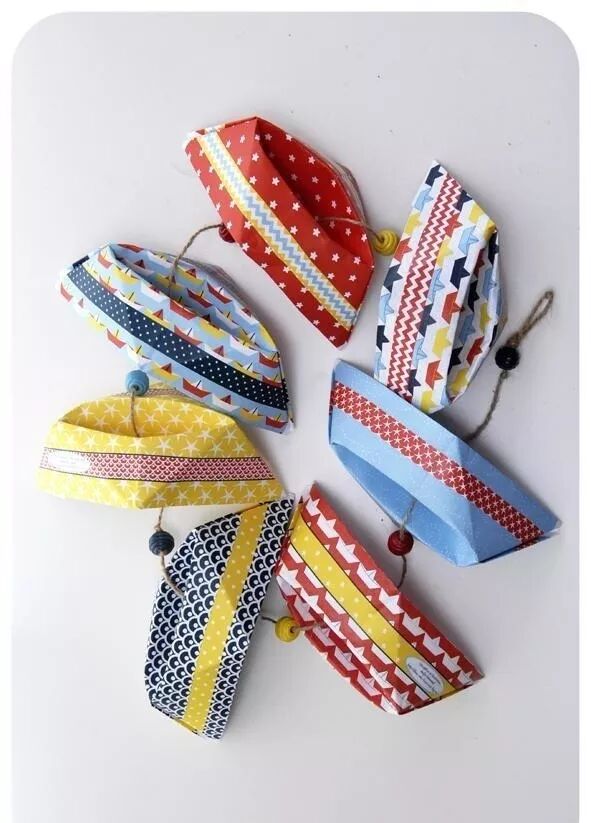
Paper Boat Hanging Decorations
Beautiful paper boat hanging decorations that you and your kids will love!
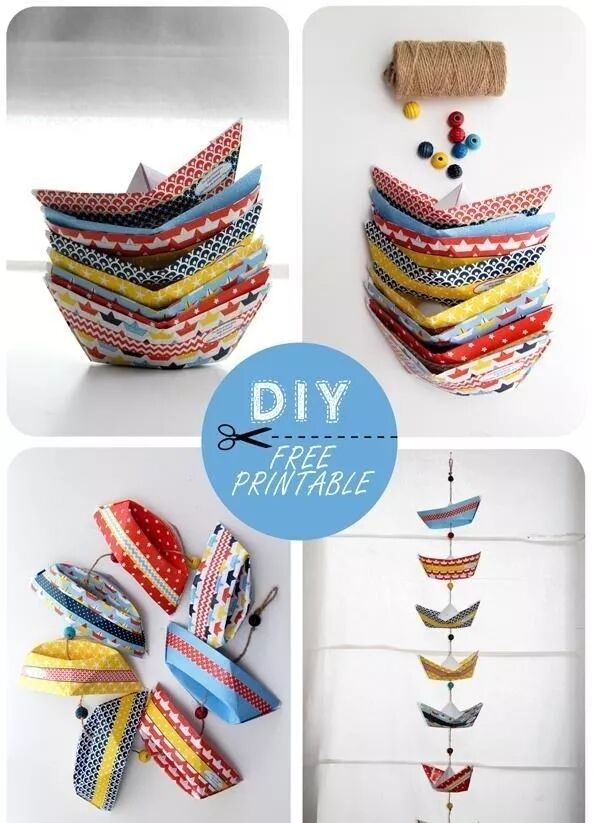
The previous steps are the same, you can refer to my tutorial below for the later steps.

Fun Tips
- Use different colored paper to create a colorful fleet
- Experiment with different paper sizes for variety
- Add patterns or designs to your boats with markers
- Create a small pond or water container to test your boats
- Make boats of different sizes to create a realistic fleet
Final Thoughts
This paper boat origami craft is not just a fun activity, but also a wonderful way to share childhood memories with your kids. The simple folding process helps develop fine motor skills, while the creative possibilities encourage imagination. Whether you're making a single boat or a whole fleet, this craft is sure to bring joy and create new memories for both you and your children. So grab some paper and toothpicks, and set sail on a creative adventure!
Related Posts
3 Comments
David Chen
August 25, 2025 at 4:15 PM
The step-by-step instructions were easy to follow, and the pictures were very helpful. My son made a whole fleet of boats in different colors. We hung some as decorations in his room, and they look fantastic! Great craft idea.

Sophia Lee
August 25, 2025 at 11:20 AM
My daughter and I had so much fun making these paper boats. We experimented with different paper sizes and even added some glitter to make them sparkle. The best part was testing them in our small garden pond. They floated really well! Highly recommend this craft for kids of all ages.


Emma Watson
August 26, 2025 at 9:30 AM
This paper boat craft brought back so many childhood memories! My kids loved making their own boats with flags. We even had a little race in the bathtub. Such a simple but fun activity! Thank you for sharing this nostalgic craft.