
Introduction to Clay Relief Paintings
Our children often draw on paper, but paper drawings are two-dimensional and lack the three-dimensional feel of the real world. Today, let's step into a new world of painting, where layers of colors overlap to create the depth of life and bring out the charm of art.
Lightweight clay can not only be used to make cute dolls, but also to DIY three-dimensional clay relief paintings!
Children's clay relief paintings allow kids to initially understand and master knowledge and skills such as art relief painting and three-dimensional relief modeling through their own operations, combining art education with fun, making learning enjoyable.
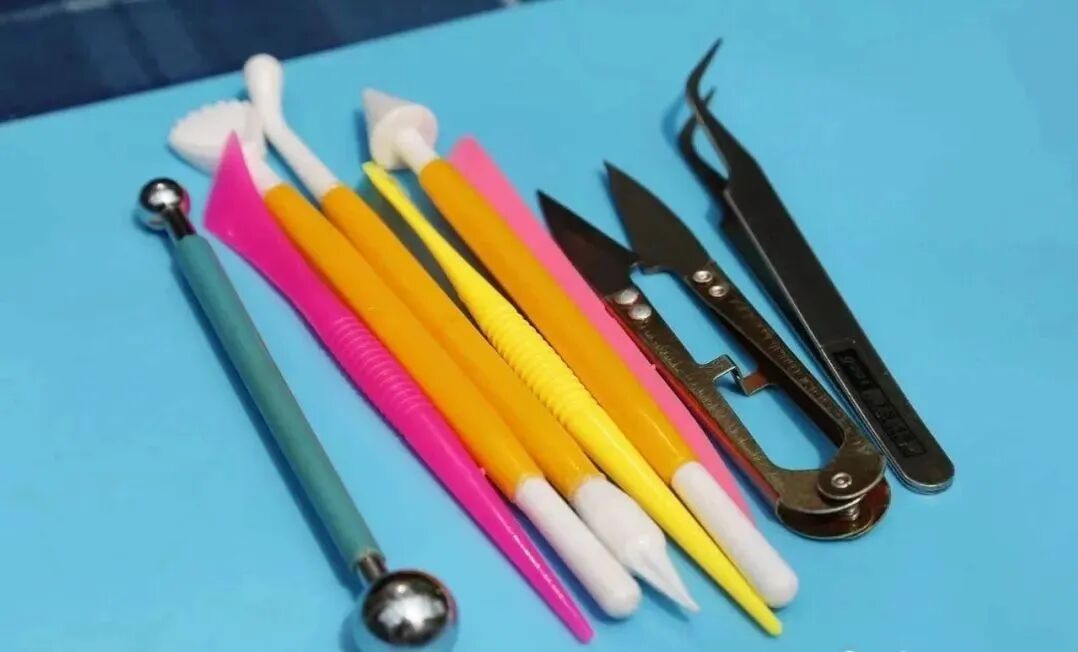
What You'll Need
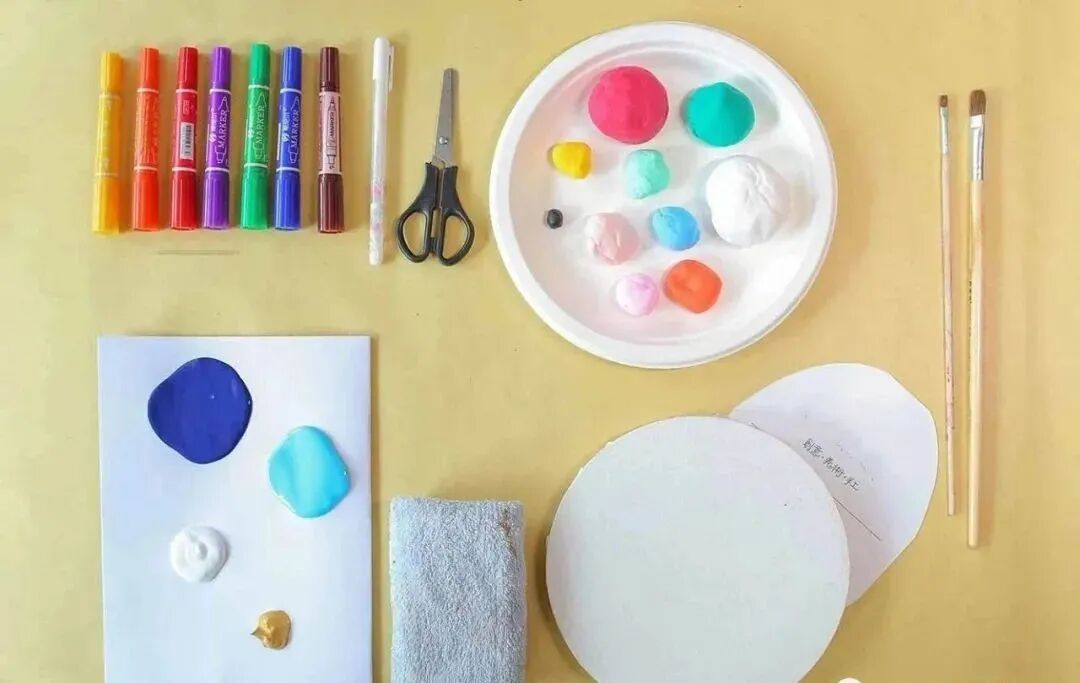
Tools and materials generally include:
- Lightweight clay - available in various colors
- Drawing board or canvas - as the base
- Tweezers - for precise handling
- Plastic carving knife - for shaping clay
- Acrylic paint - for adding color
- Brushes - for painting
- Toothpicks - for adding details
Clay Relief Tutorials
We have prepared three clay relief painting tutorials in different styles:
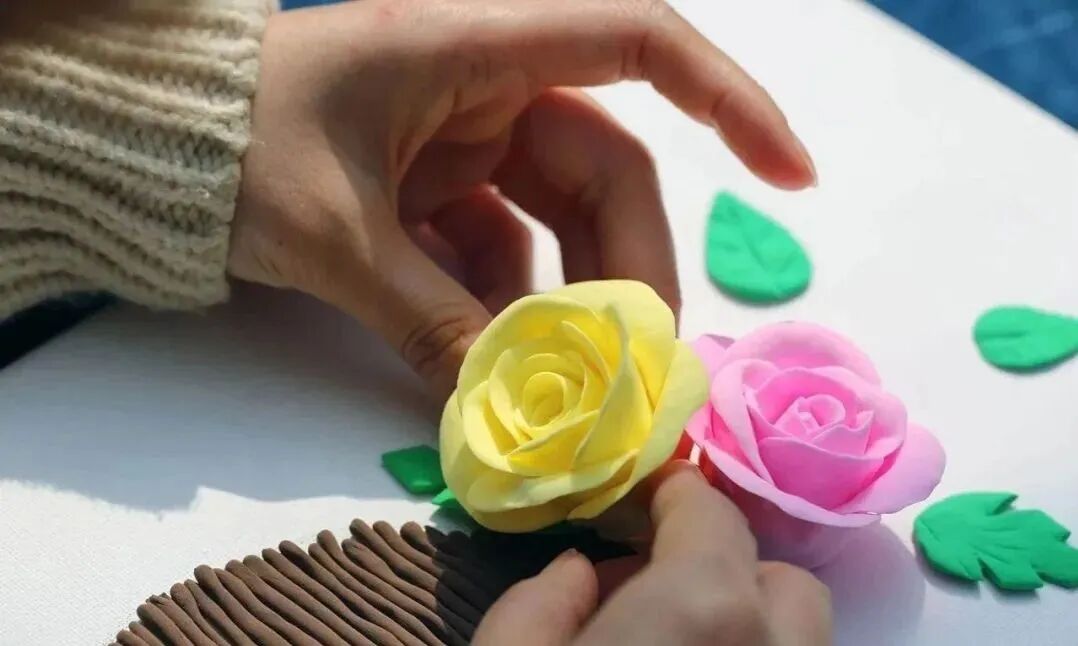
1. Flower Relief
Flower relief is the most common relief painting theme. It's perfect for beginners as flowers have simple shapes that are easy to create with clay.
2. Santa Claus Relief
Inspiration for relief creation comes from various sources, such as people and things around us, favorite anime and cartoons, or beauty in our hearts.

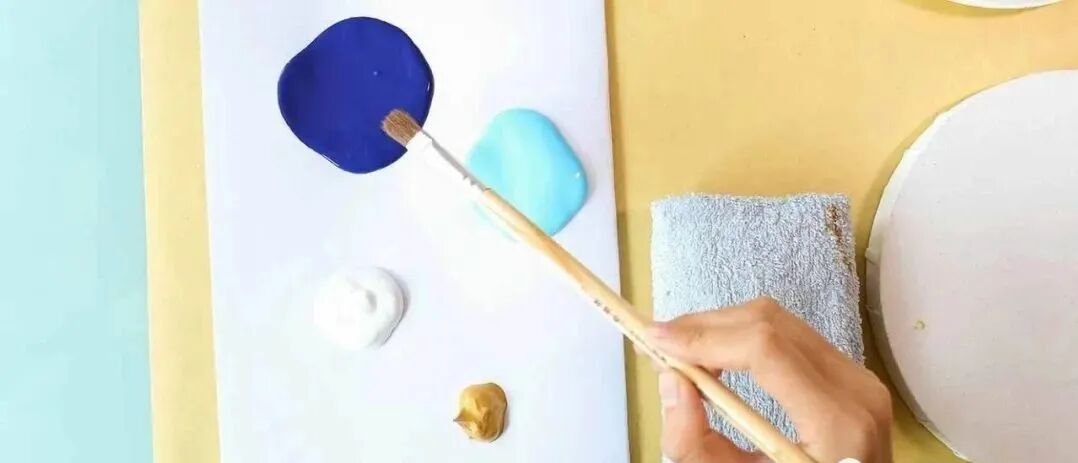
Materials Needed:
- Lightweight clay (red, white, flesh, black)
- Canvas or drawing board
- Acrylic paint (blue, white)
- Brushes
- Toothpicks
- Plastic knife
Step-by-Step Instructions:
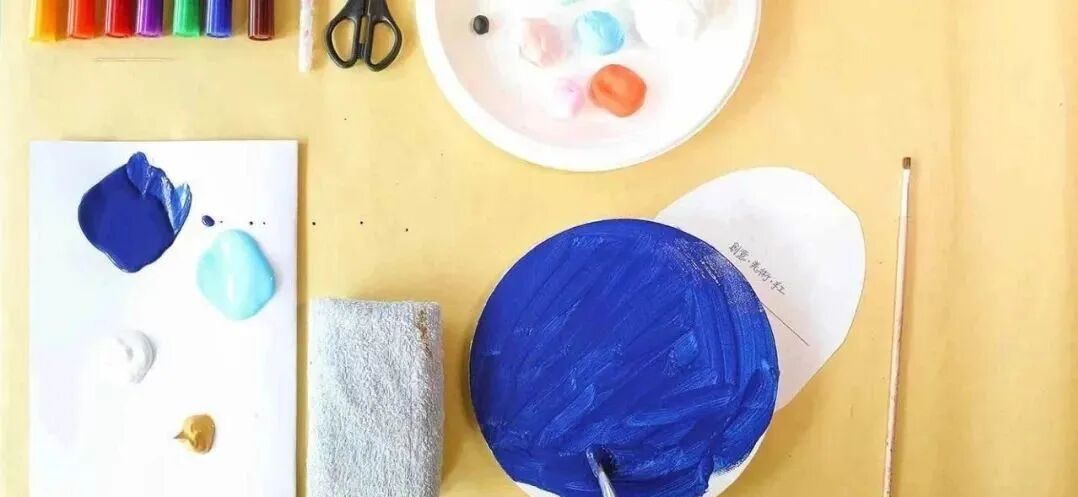
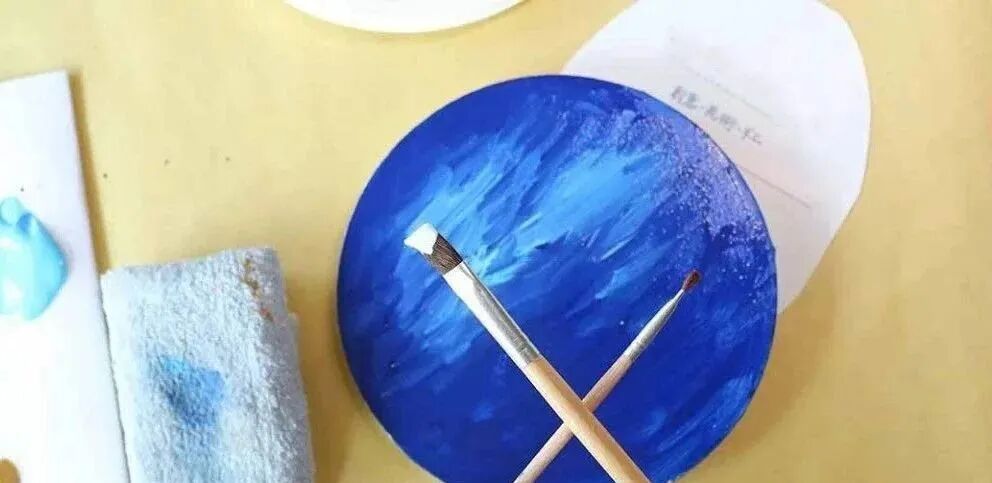
- First, draw the background. Pick up a large brush and start with deep blue.
- Complete the deep blue background.
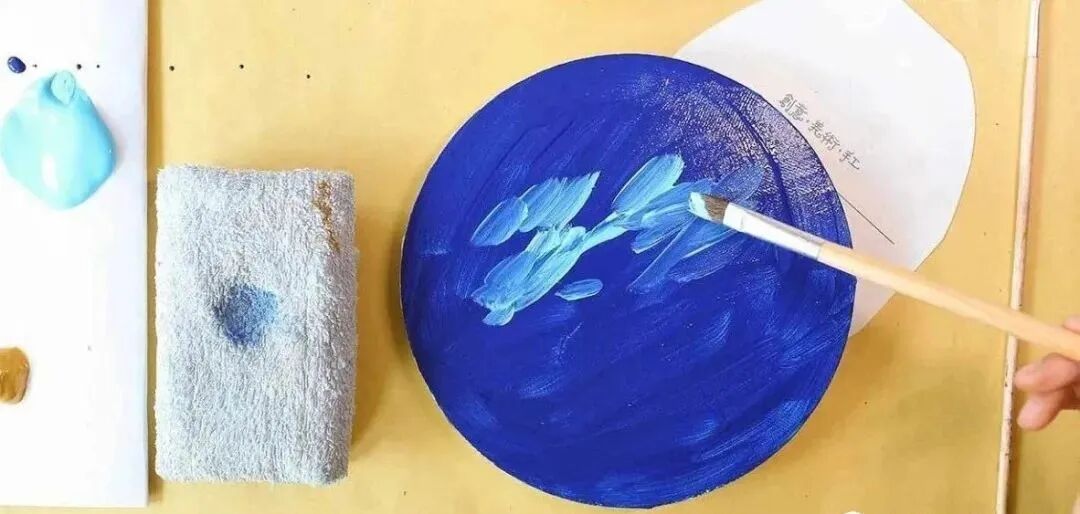
- Then, in the upper middle area, brush some sky blue.
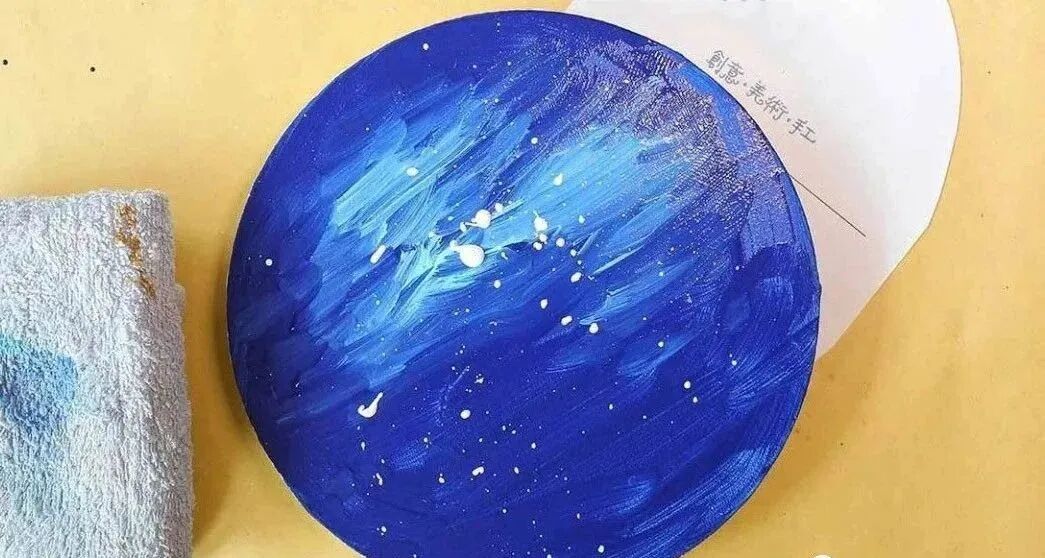
- Next, wash and dry the brush, dip a large brush in white paint, place a small brush under the large brush, and tap to create starry effects.
- At this point, the background is basically completed!
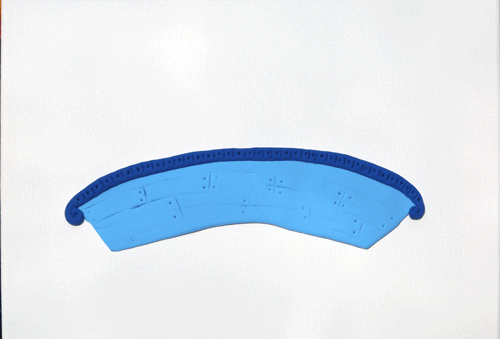
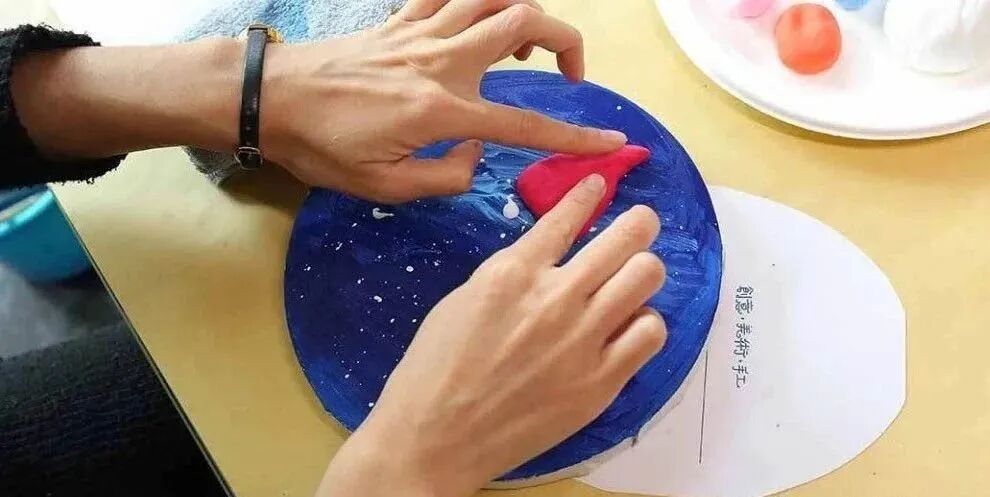
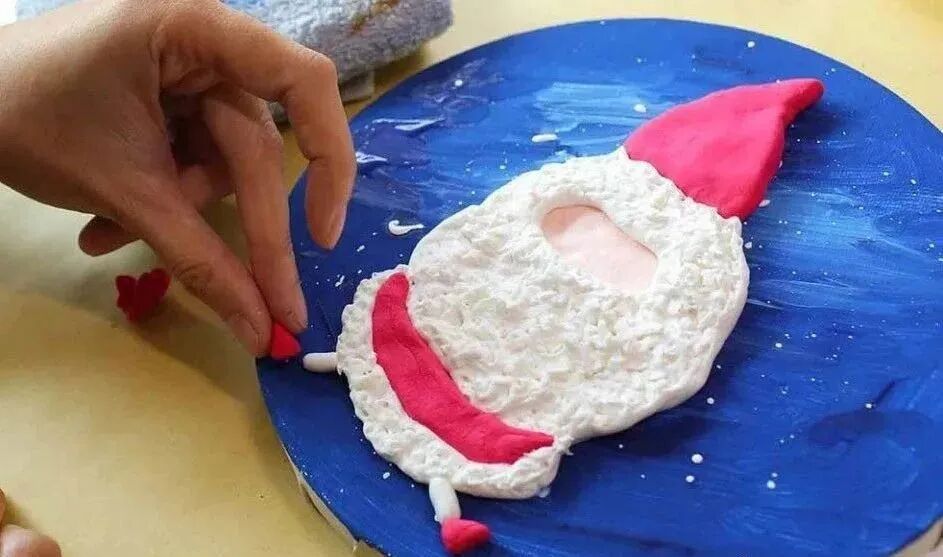
- First, make a hat for Santa Claus! Before making any shape, knead a ball, then flatten it and slowly pinch it into the shape you want with your fingers.
- Then make the face, leaving some space between the face and the hat for the beard.
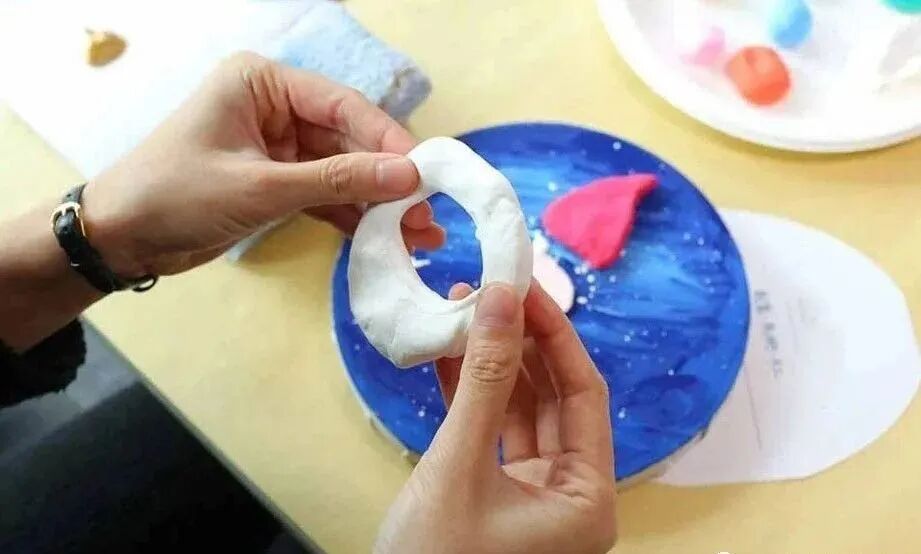
- The beard is made by first making a large cookie shape, then cutting a hole in the middle about the size of the face.
- Now the toothpick comes into play, drawing the texture of the beard on the white clay.
- Making clothes requires making circles again.
- Santa Claus is done!


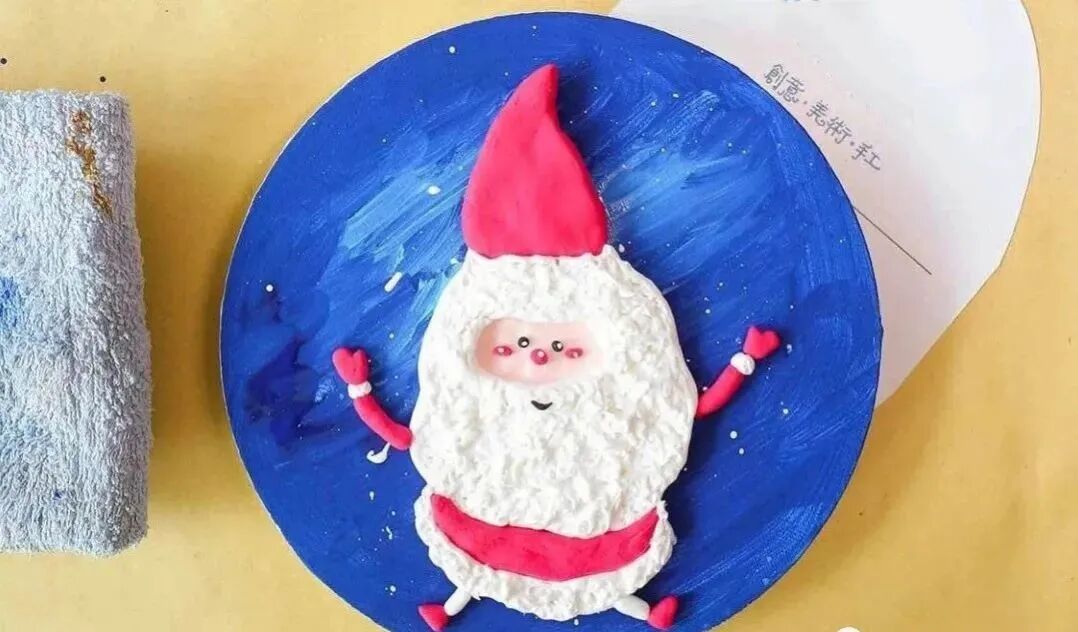
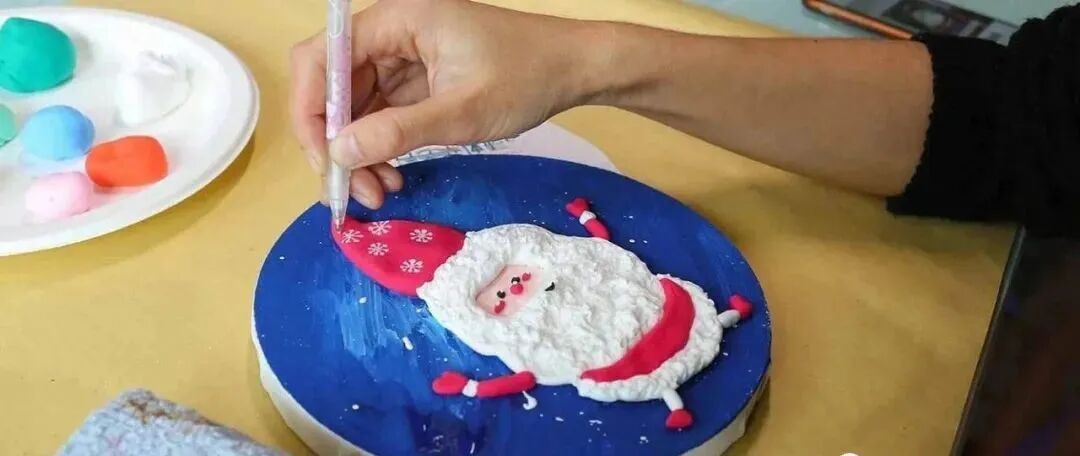
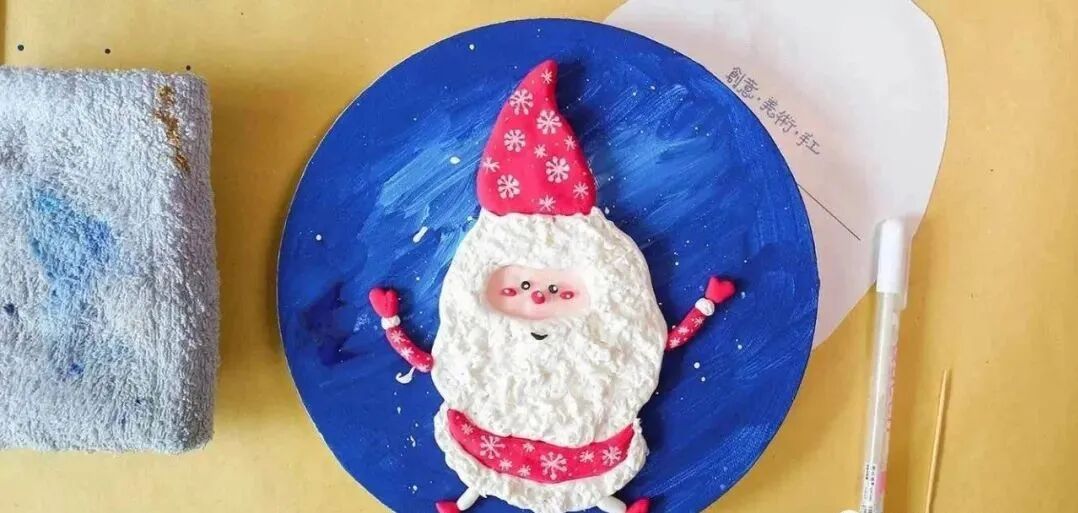
After rich color matching and interesting shape design, a beautiful clay relief painting work appears before our eyes!
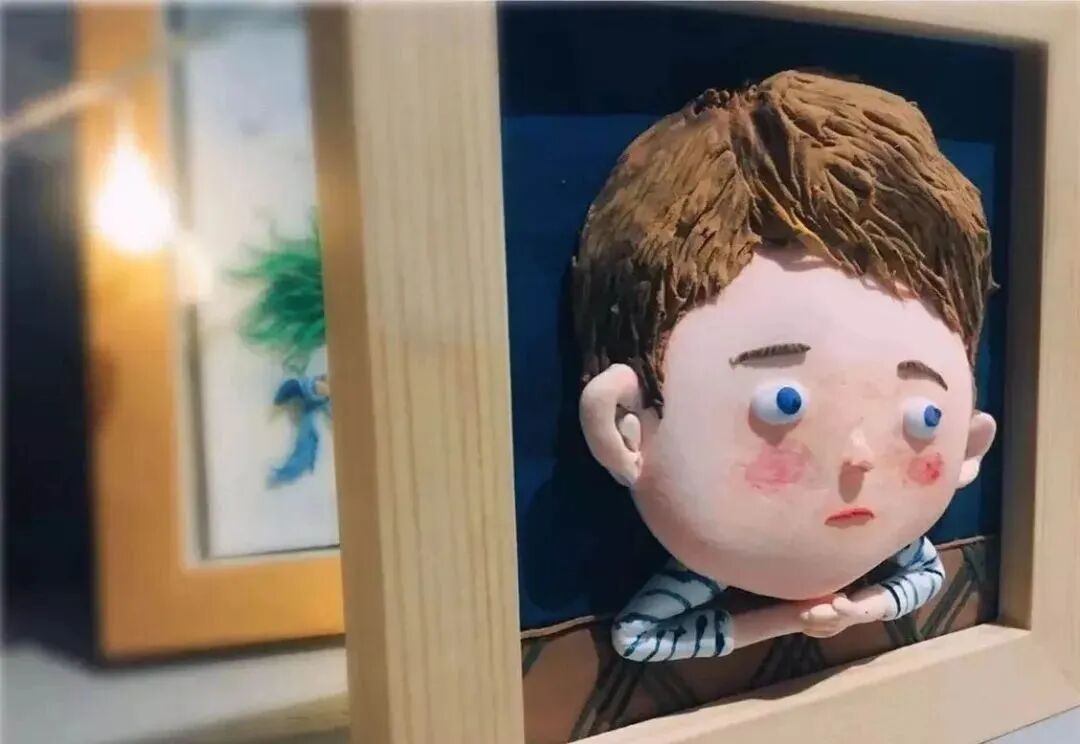
3. Video Tutorial: Little Boy Relief
Below is a video of making a clay relief painting of a little boy, come and watch!
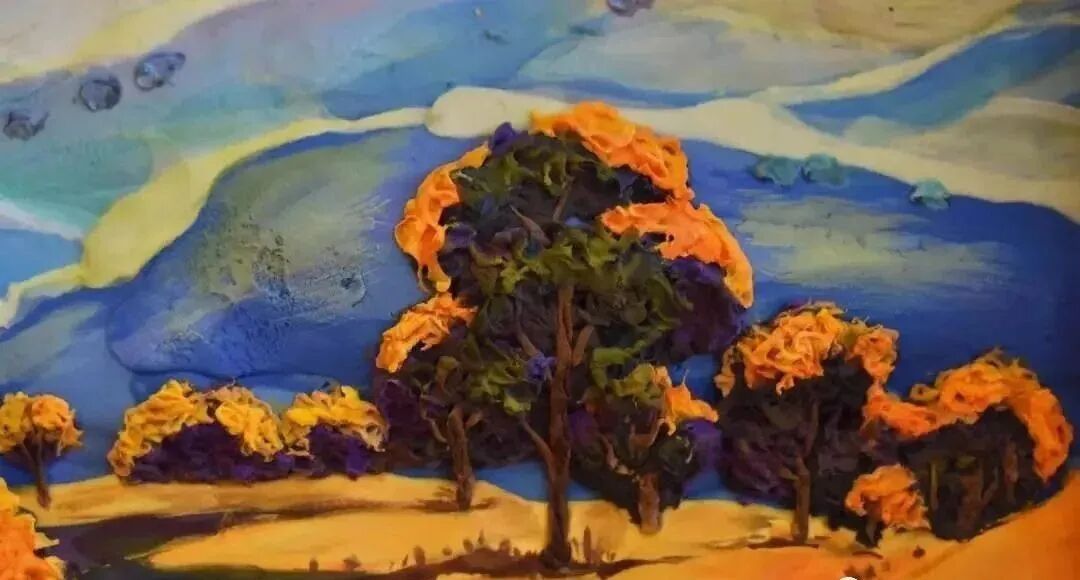
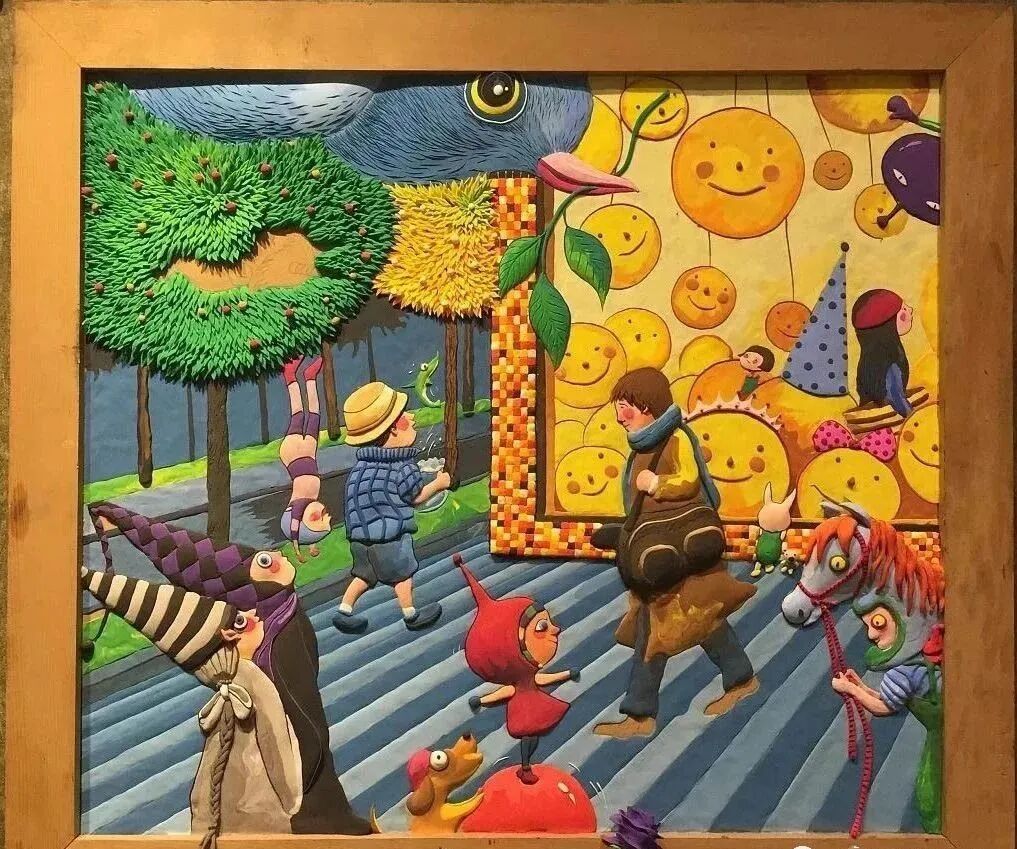
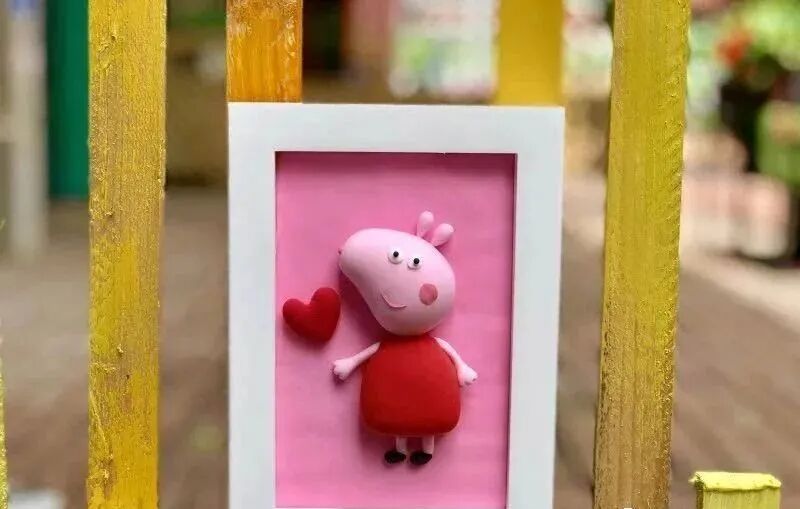
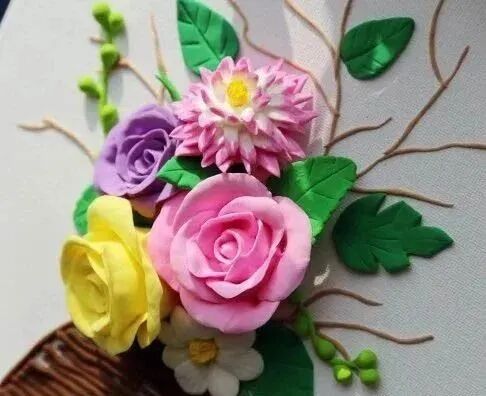
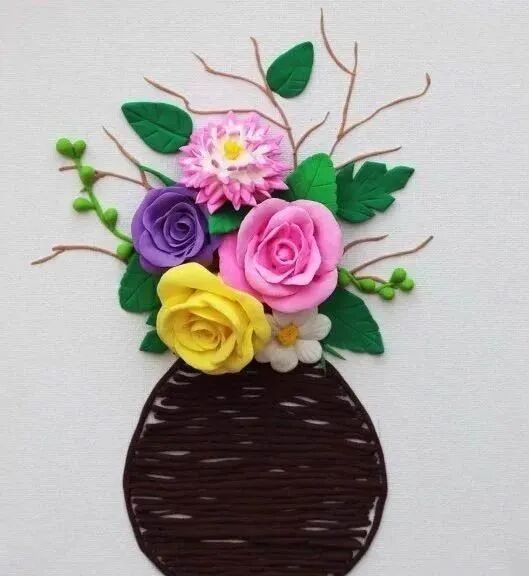
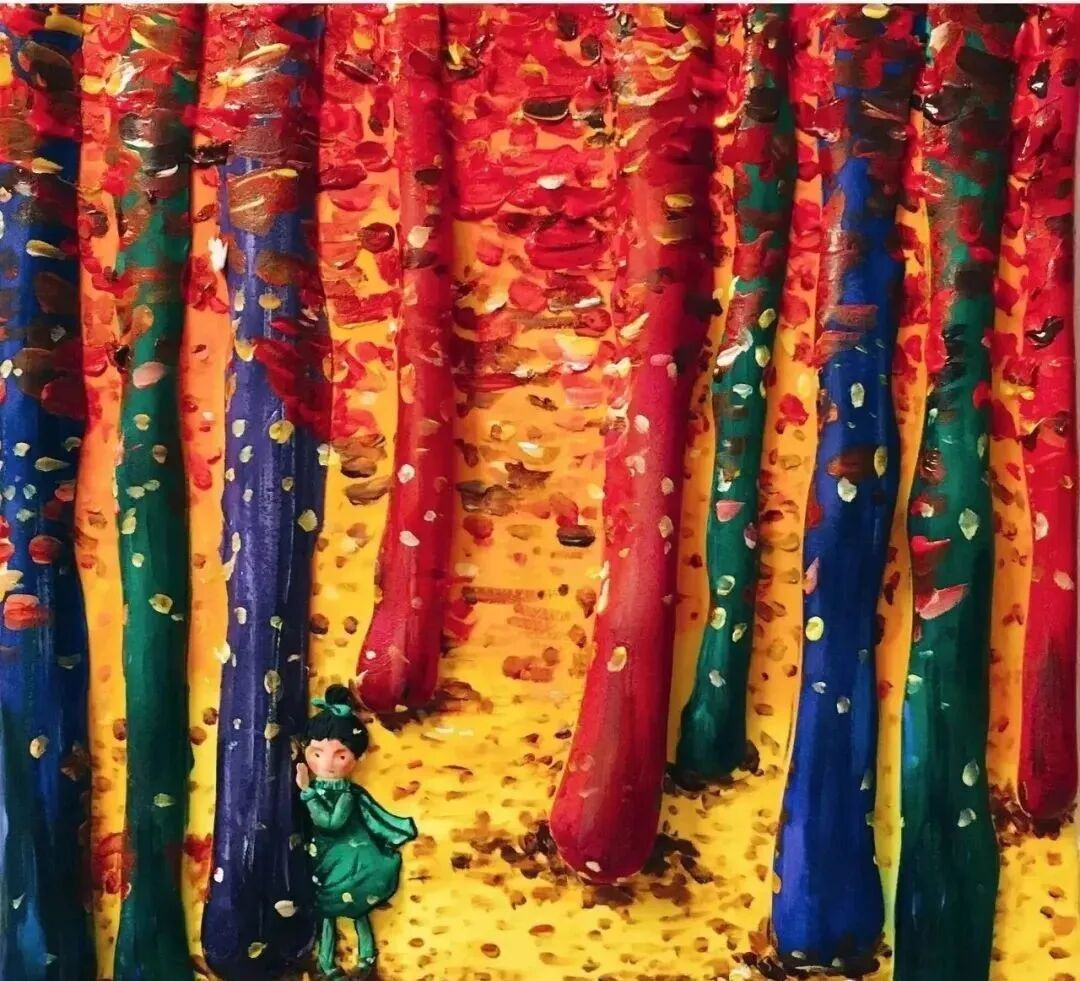
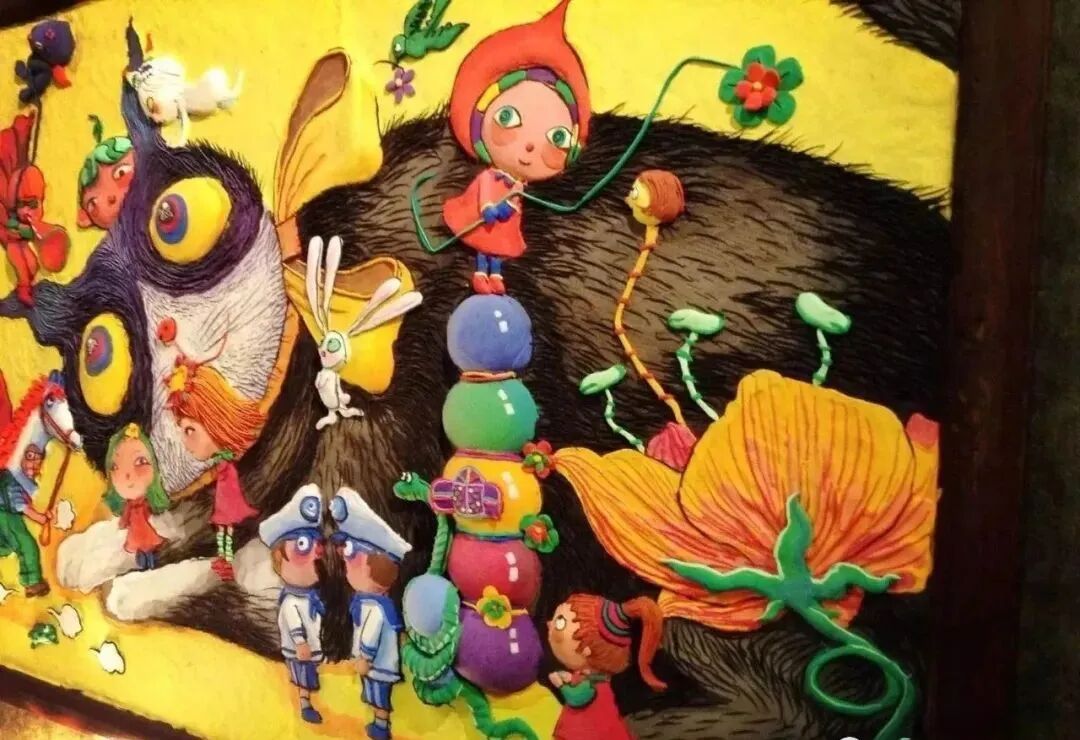
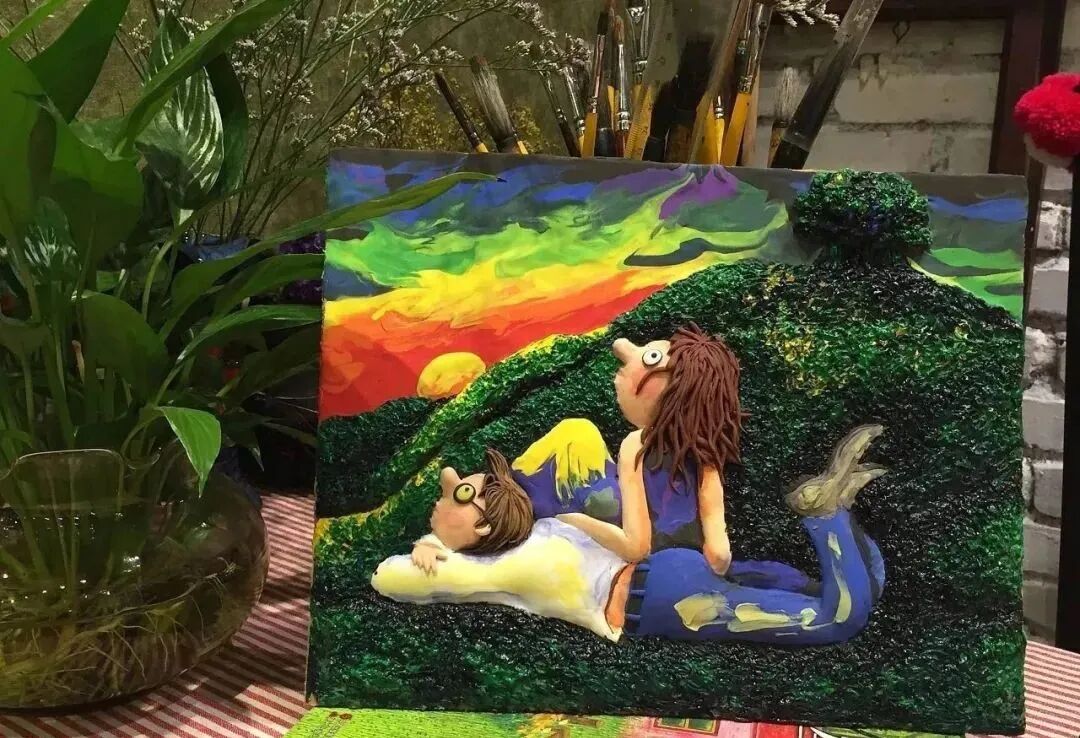
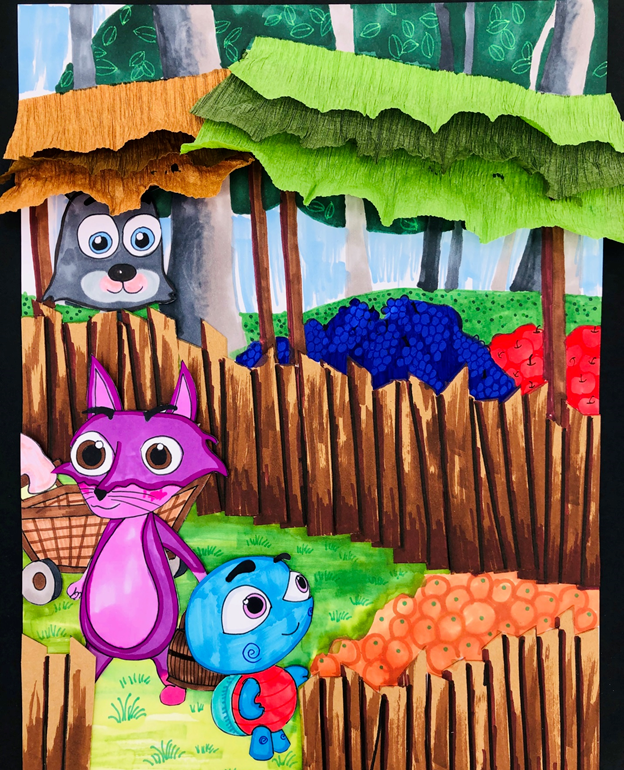
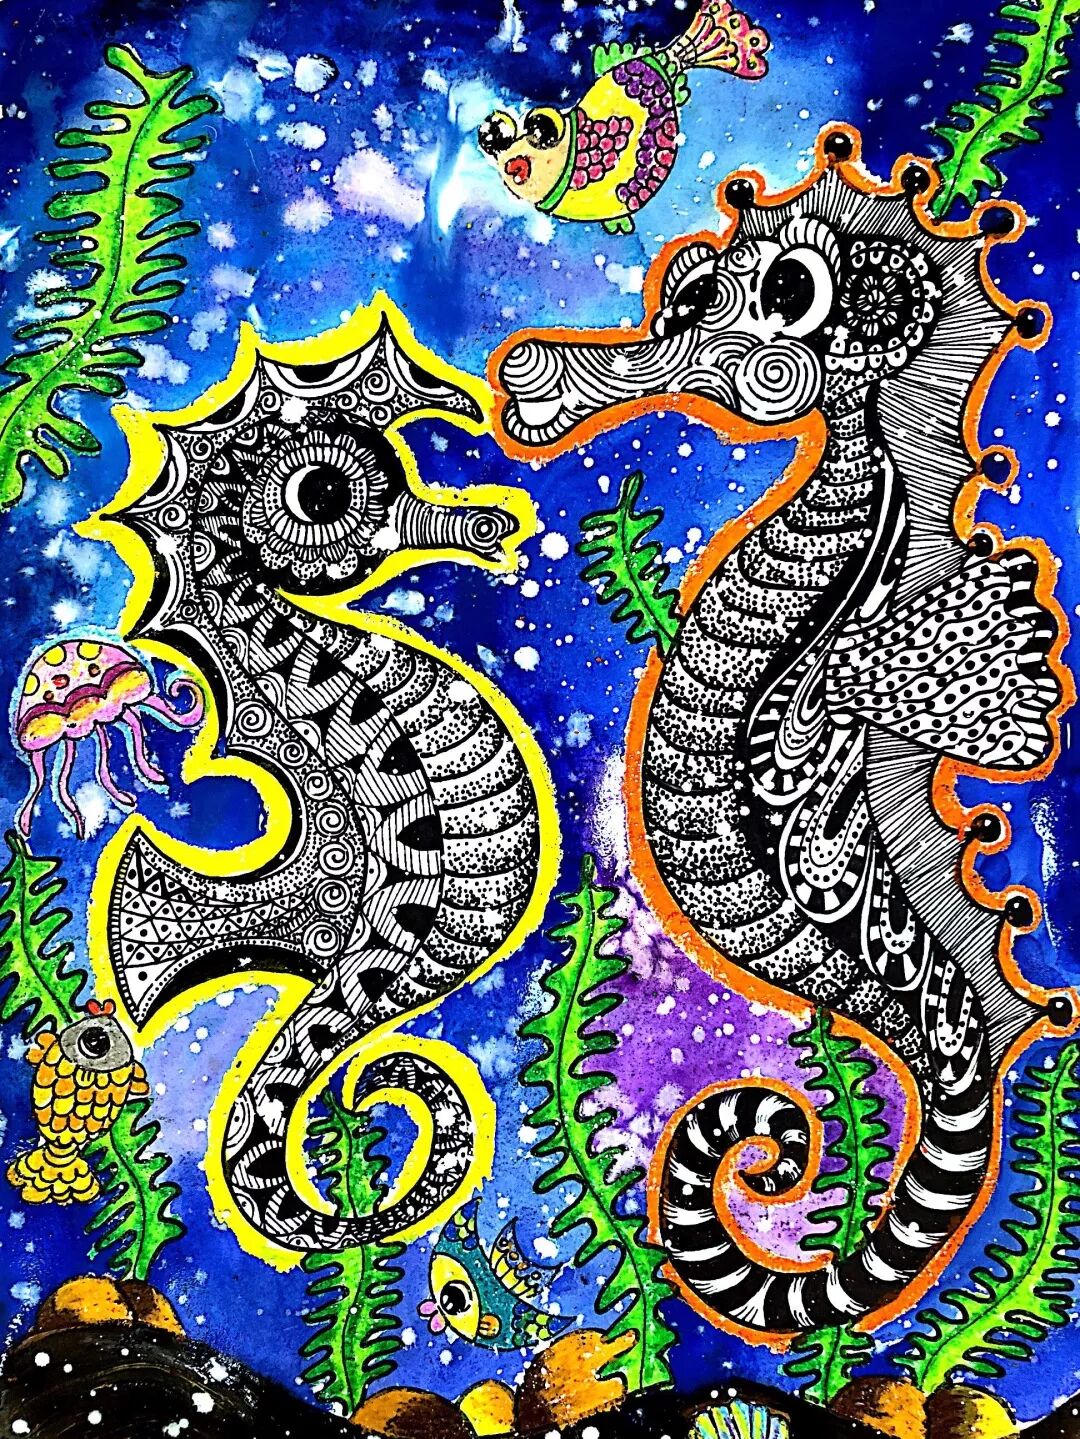
Gallery
Finally, let's enjoy another wave of beautiful clay relief paintings, immersing ourselves in this beauty!

Find some time to transform clay into a different world with your child under the warmth of your hands!


Lisa Wang
February 26, 2026 at 1:45 PM
My daughter and I tried the flower relief tutorial yesterday, and it turned out amazing! The step-by-step instructions were so easy to follow, even for a 7-year-old. We loved how the clay adds such beautiful texture to the painting. We're already planning to make the Santa Claus one for Christmas! Thank you for this wonderful craft idea!